Setting Up a React Environment
In this guide, we’ll set up a React project using Vite using four easy steps.
Step 1: Check if Node.js is Installed
Open your terminal and type:
node -v
If Node.js is installed, you’ll see a version number
v23.8.0
If not, download and install Node official website.
💡 Installing Node.js also gives you npm (Node Package Manager), which we’ll use later.
Step 2: Create a Vite Project
A development server is like a playground where we build and test our React app. We’ll use Vite for this.
Run the following command in your terminal:
npm create vite@latest
Step 3: Configure Vite
Vite will ask you a few questions:
Project Name → type a name for your project folder.

Framework → select React.

Variant → select JavaScript.
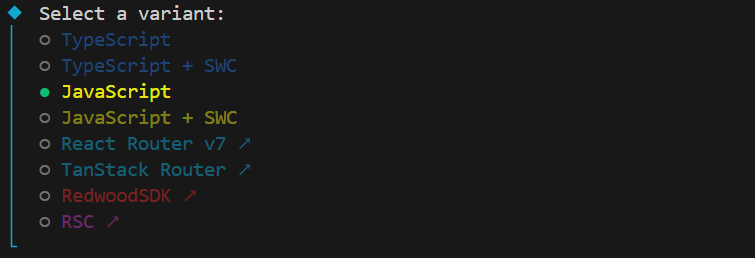
There are two Javascript variants, but in our project we will use plain Javascript.
Step 4: Start the React Environment
Move into your project folder:
cd my-react-app
Install the required dependencies:
npm install
Then start the development server:
npm run dev
If successful, you’ll see something like:
  VITE v7.1.4  ready in 760 ms

  ➜  Local:   http://localhost:5173/
  ➜  Network: use --host to expose
  ➜  press h + enter to show help
Open the Local URL in your browser to view your React app 🎉.